it’s all about the journey…

I want you to think of my Rosé Attaché as your arsenal of been there’s and done that’s.

This is my gift to you, a collaborative hub of my own tried and true’s.

Rising Higher

Rising Higher

Rising Higher

My mother has never appreciated the pleasures of baking. This turned out to be a great blessing for me as I've enjoyed baking from a very young age, and my work has always been an addition to her cooking rather than my stepping on her toes.

By: Anonymous (this person is so inspiring…her cheesecake is just the tip of the iceberg)

I remember the first cake I baked on my own. I would often bug my mother as a young child to bake with me, and when she was able to acquiesce, she did, until one Thursday night when I was in second grade. My mother was too busy to do it with me, so she gave me a recipe card and allowed me to attempt it on my own. After mixing all the ingredients I saw listed on the card, I began licking the batter (as I still like to do!), but it was overly salty… weirdly salty. My mother tasted the batter and began asking me how much salt I put in… but I only put in the one teaspoon the card instructed! After reviewing the ingredients a few times, we realized my mistake! My mother had written on the card: 1 baking soda; in my naivete, I had assumed it meant 1 cup instead of 1 teaspoon! Thank goodness we licked that batter because had that gone into the oven, it may have risen beyond the oven's capacity! Of course, my mother was kind enough to remake the recipe with me, and we had a delicious cake for Shabbos and a great story!

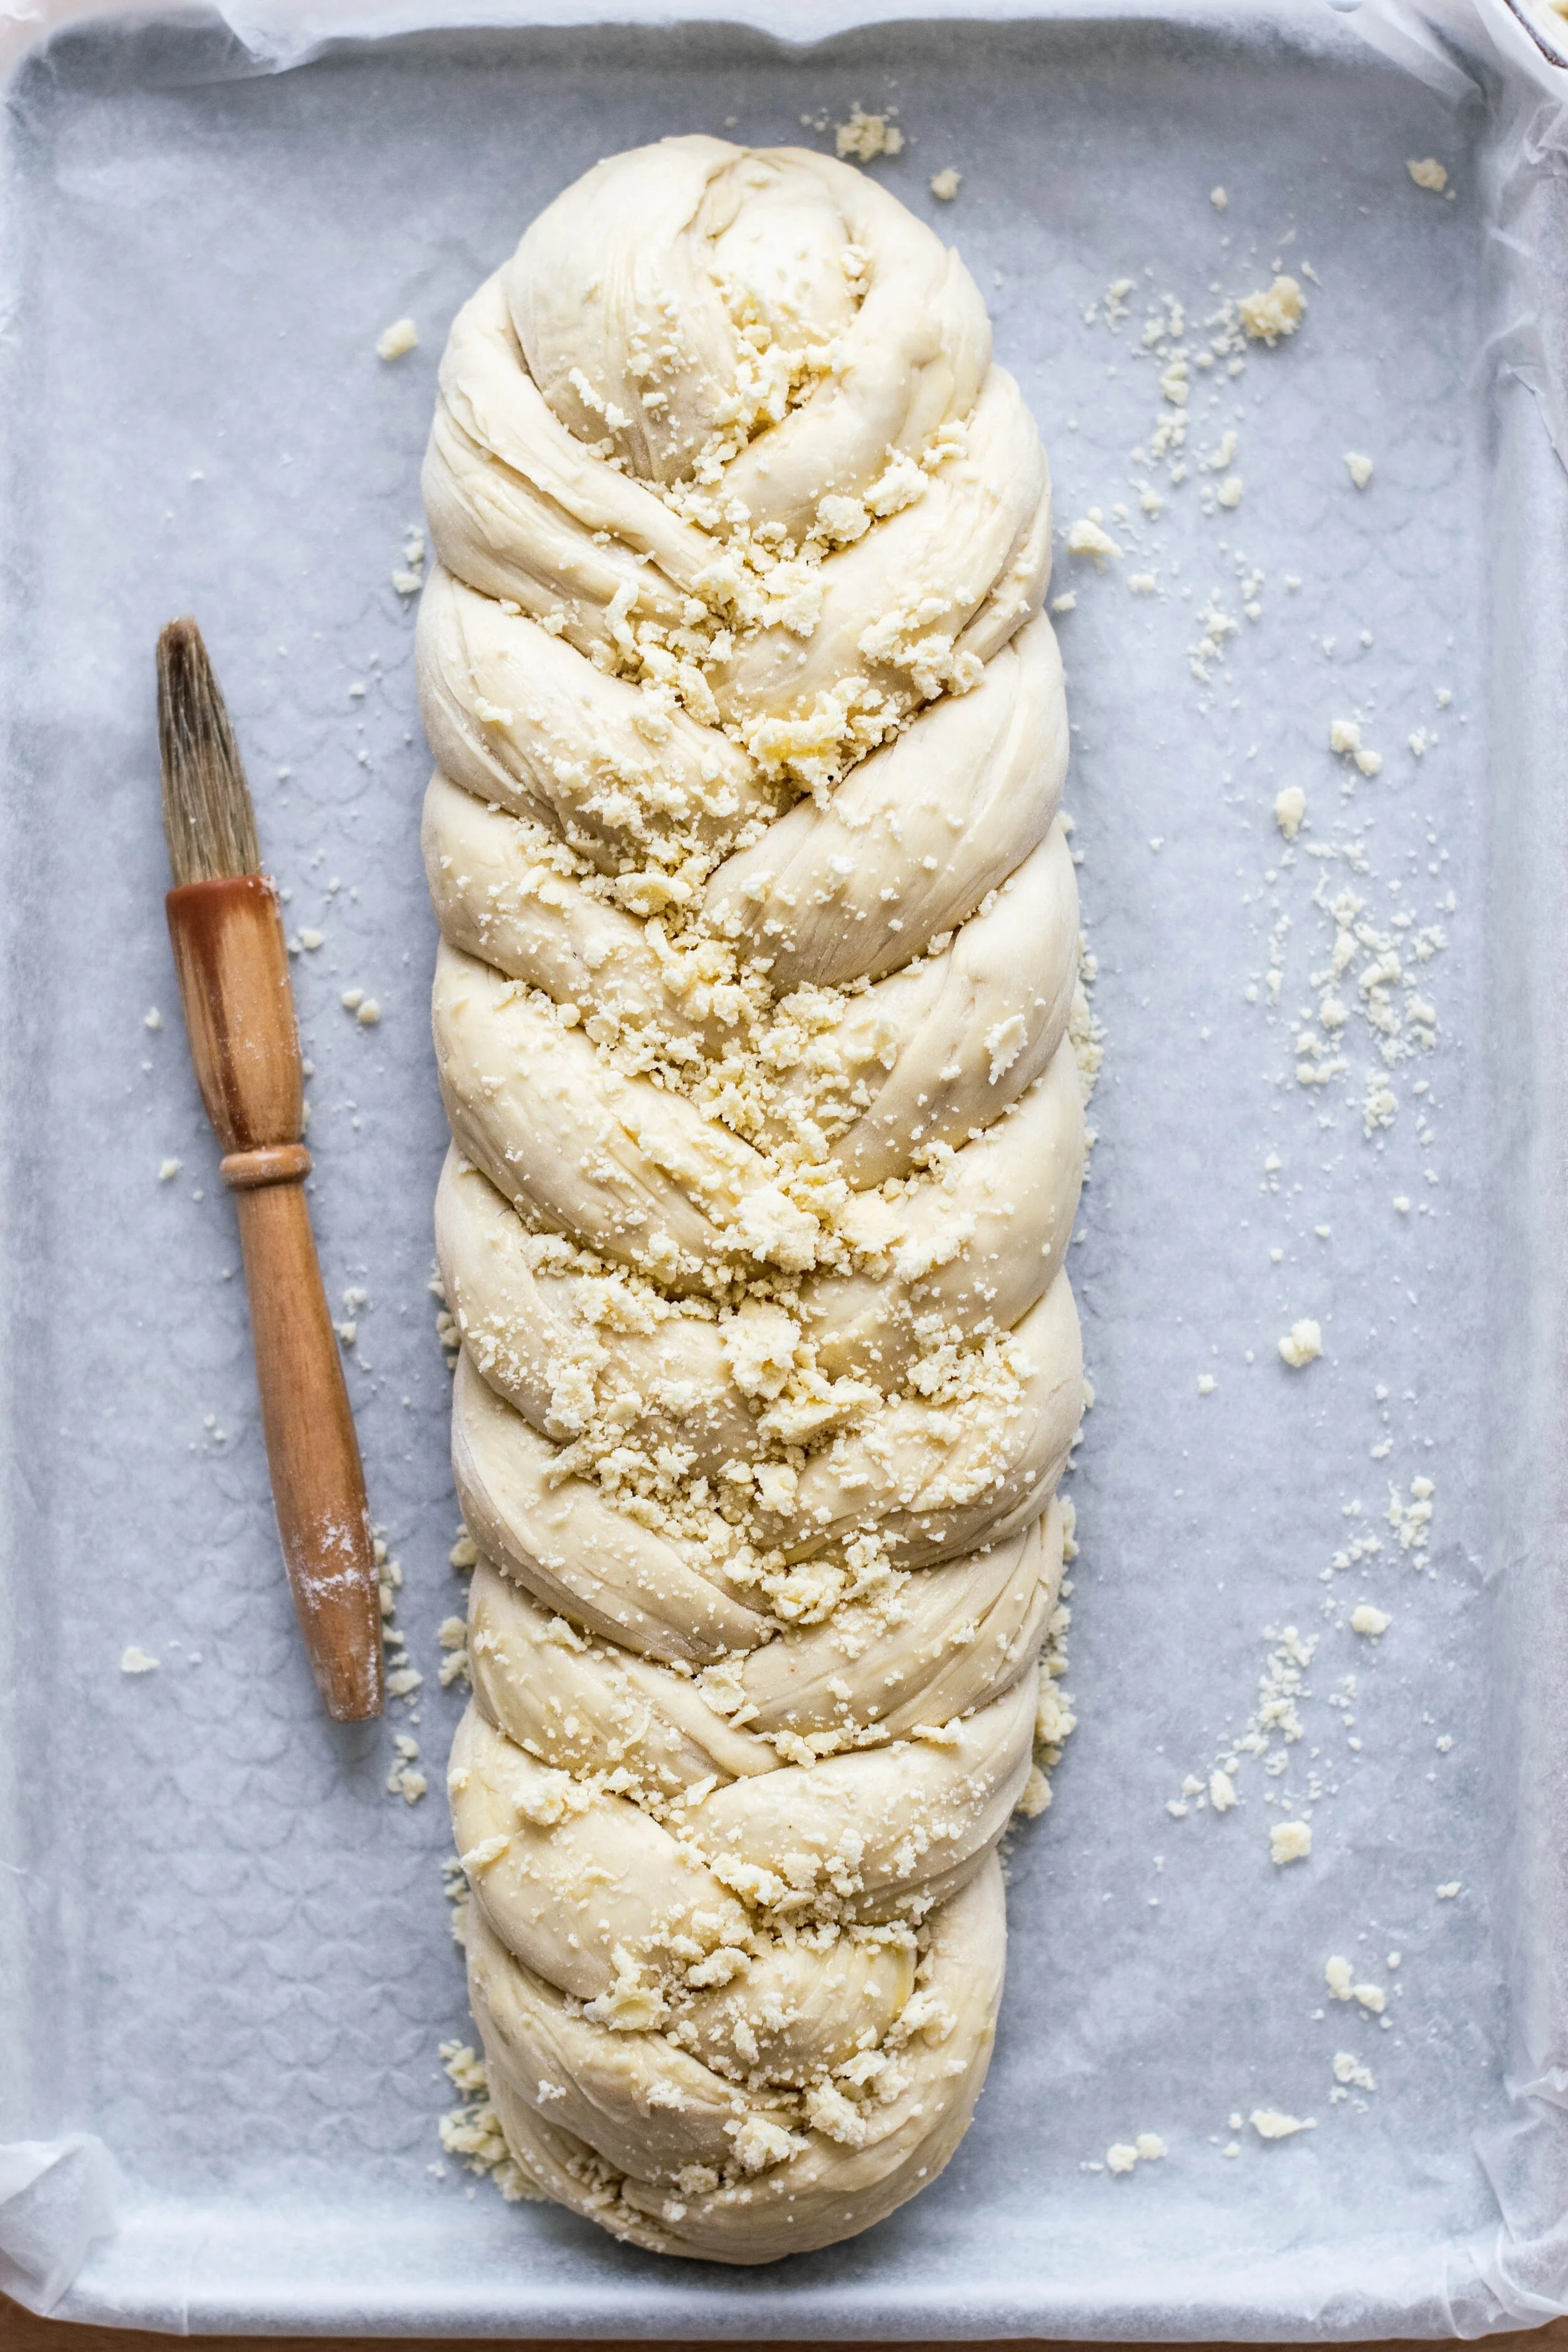
Fast forward a few years, at around age twelve, I began finding the mitzvah and beauty of baking challah quite compelling. I asked my mother if I can bake challah for Shabbos, and I'm sure she wasn't surprised when I actually carried through. I began baking challah weekly. I remember those first few weeks (or months eek), those challos were not very tasty. I knew they weren't the sweet, fluffy challos I dreamt of, but my father kept encouraging me, telling me how delicious they were, albeit I knew they were a drop flat and bland-tasting.

My father's encouragement kept me hooked. I worked on perfecting my challah recipe for years. I researched different yeasts and how yeast works and different tricks to make the challah as delicious as possible.

I read recipe after recipe and combined different recipes to suit my personal liking. I began asking my mother to pick up some fresh yeast from a local bakery, which was of higher quality than the packaged kind, and that made a huge difference.

I actually found that "potato juice" (water that potatoes were cooked in) enhances challah tremendously as it brings in extra gluten. My mother was so kind as to begin cooking potatoes just for my challah. I worked and perfected and researched and eventually reached a challah recipe that I am proud of. And I've never changed my recipe since.

Since those years, I still very much enjoy baking, particularly baking challah. So much so that I often schedule my life around it. In fact, when I would have a particularly stressful week at school, and there just wasn't the time to make challah, my Shabbos was truly not the same! When I was looking for a job, I prioritized having either a Thursday night or Friday free to bake my challos. When I go away for Shabbos, my family always comments about how my challah was missing that week. It has become a part of me and a quintessential part of my Oneg Shabbos. If I didn't make challah, Shabbos just isn't the same.We all have hobbies we enjoy, sometimes we pursue them, and sometimes we let them fall to the wayside. For me, it is baking, particularly baking challah. I am grateful to those who encouraged me not to give up on my journey early on, and because of them, I am still baking my precious challos weekly.

challah .jpg


Challah Recipe:


This bakes two large challos and one small one, perfect for one Shabbos. To make 5 lbs., and be able to make a Bracha, you need to make two-and-a-half times the recipe below.

1 ⅓ C Warm Water (or potato juice-- which is better:)
1 oz. fresh yeast (better to purchase from a bakery which is fresher but the grocery store version can work too)
A Sprinkle of sugar

Warm up the water in the microwave (about 30 seconds, you want it warm but not hot). While it is warming, sprinkle some sugar over the bottom of the mixing bowl. Pour the warm water into the mixing bowl and then sprinkle the fresh yeast over. Let it sit for 5-7 minutes while it activates the yeast. (You should see the yeast begin to float. If it doesn't, throw it out and start again; either the yeast is bad, or the water was too hot.)

7C High Gluten Flour
Almost a cup of sugar
2.5 teaspoons of salt
Sift the flour into a large bowl and then divide it: 4 cups in a larger bowl and 3 cups in a smaller bowl. Add the sugar to the larger bowl and combine. After your yeast proofs, add 1 cup of the flour/sugar mixture and mix with the dough attachment. Now, add the salt to the large bowl with the remaining flour/sugar mixture. Add the remainder of the flour/sugar/salt mixture to the mixing bowl 1 cup at a time, mixing with a dough attachment. If it becomes dry appearing, then move on to the wet ingredients.2 eggs + 2 egg yolks (warmed to room temperature, you can leave it in a warm water bath for a few minutes. Also, beat very lightly, just to combine yolks/whites)
⅓ C oil Add the eggs and oil to the mixing bowl and mix. If you have remaining flour/sugar/salt in the large bowl, then add the remainder followed by flour from the small bowl 1 cup at a time. Continue adding flour until the dough isn't sticking to the bowl's edges, but don't put in too much that it'll get dry! This varies from week to week, sometimes I need to add some more liquid (either water or oil or a bit of both), and sometimes I need to keep adding more flour. It takes practice to get familiar with the correct consistency: not dry and not too wet, where it holds together well but doesn't stick to the bowl or your fingers. Let it mix with the dough attachment for 5 minutes (or knead by hand). Let it sit for 5 minutes and then mix another 5 minutes. Let it rest another few minutes and then transfer to a large bag for it to rise. Let rise for 2-2.5 hours. Shape the challos and then let them rise another 30-40 minutes covered. Egg, decorate to your liking and bake at 350 F for 35 minutes (or until it's golden). Enjoy! Note: sometimes, I leave the dough in the refrigerator overnight and braid it on Friday. I usually let it rise for 2.5-3 hours after taking it out of the fridge as it retains the coolness and rises a drop slower in the beginning…Tip: when shaping the challos, I recommend dividing it up (based on how many strands you intend to use… I do two 6 strands and one 4 strand) and rolling out each piece with a rolling pin and then shaping it by rolling it up "jelly-roll style" into a strand. Rolling it out with a rolling pin helps release some of the air trapped in the dough and makes for tastier challah. Tip #2: when you take it out of the oven, take the challos off of the cookie tin/pan and on to a paper towel laid down on the countertop, this will help avoid the bottom turning soggy from the heat/condensation.

She’s A Fixerupper

She’s A Fixerupper

It's Not Rocket Science

It's Not Rocket Science